Garage Door Opener Guide
You know that upbeat feeling you get when you’re pulling into your driveway, and your garage door opener magically opens the door for you? We’ve all been there. That convenience is hard to beat, whether the first time you’ve experienced it or the millionth.
So whether installing a new garage door opener in a new construction home, replacing an old one, or just wanting to know how to program your garage door opener remote, we’ll show you how in just a few quick and easy steps.
First, let’s take a look at the different types of garage door openers so you can choose the best one for your needs.
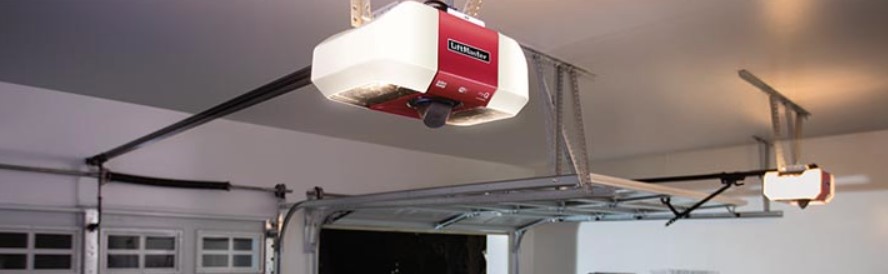
- Chain-drive openers are budget-friendly and often the noisiest type of opener. Nevertheless, they are a good choice for households not bothered by the noise or with a detached garage.
- Belt-drive openers are mid-range models which are noticeably quieter than chain drives. Belt drives may be the best for you if your garage is attached to your home.
- Screw-drive openers are the premium choice and are considered the most durable. In addition, they are the quietest opener and a solid option if you have an attached garage.
Start Programming
Once you’ve decided and installed your garage door opener, it’s time to program your garage door remote. Luckily, this task is relatively easy to complete in just a few quick steps.
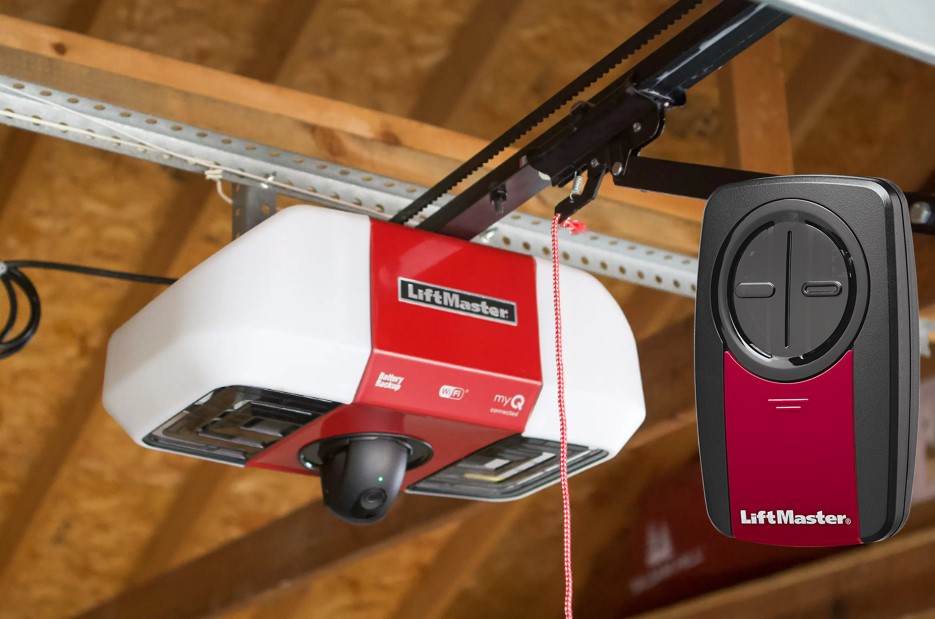
- Ensure your new remote is from the same manufacturer as your garage door opener. Because most openers and remotes use distinct frequencies with different data, a remote designed for a LiftMaster will not function with a Genie. Each brand operates on separate frequencies and utilizes different information.
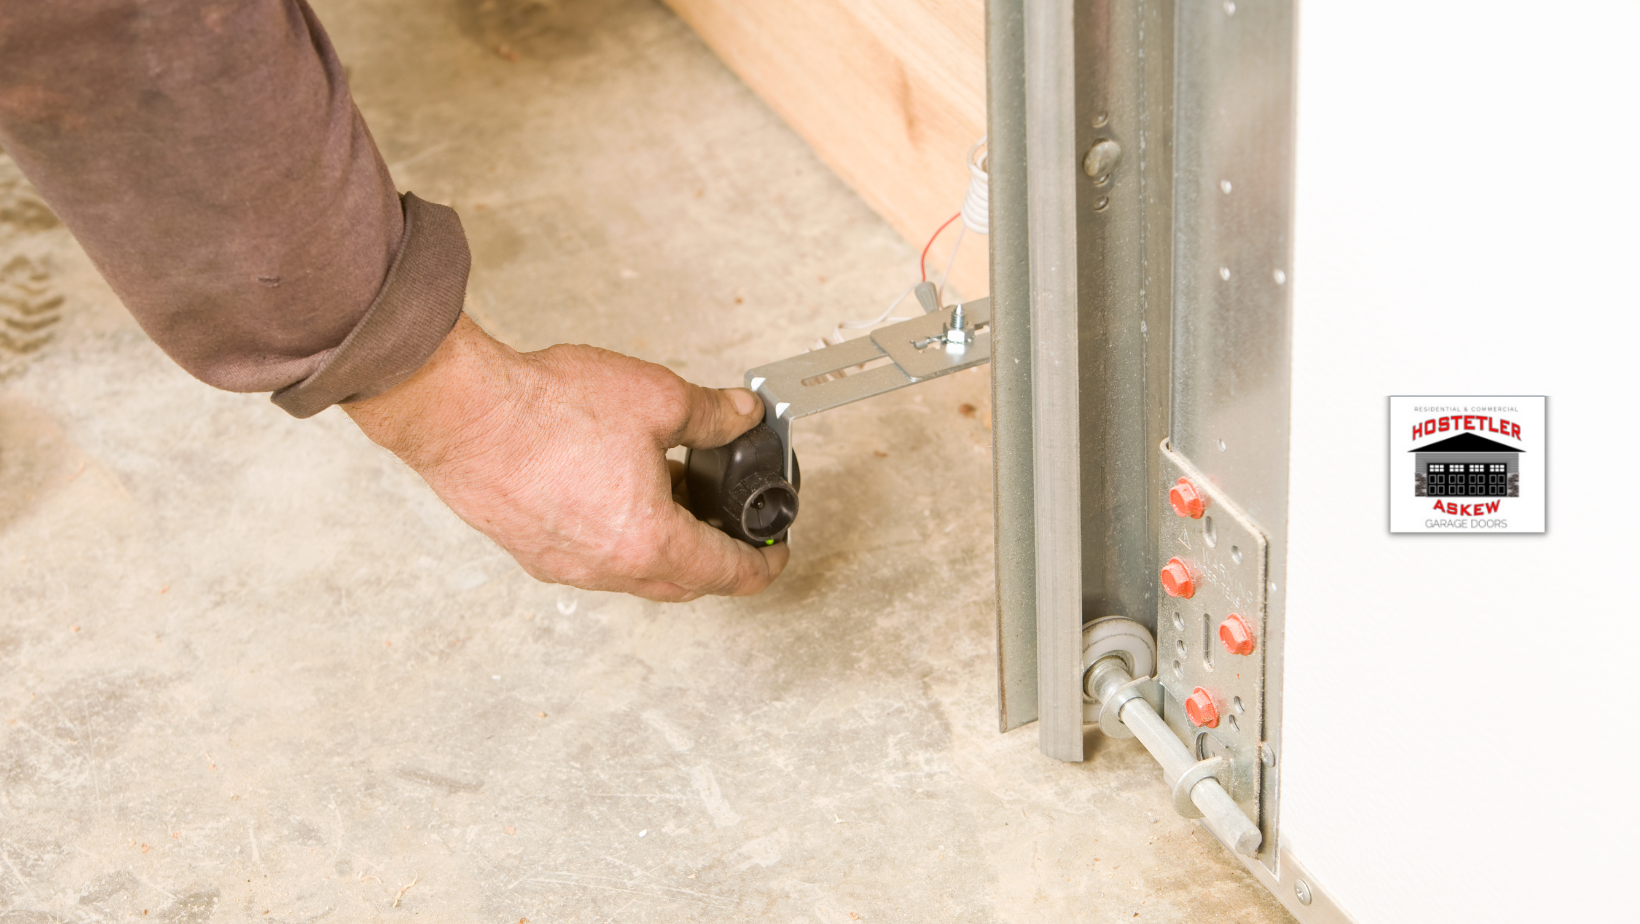
- Search for the “Learn” button on your garage door opener. It is usually located on the back or side of the motor unit and may have a picture of a light bulb next to it. Once you find the “Learn” button, press and hold it until the LED indicator light starts blinking. This blinking light signals that the opener is in the correct mode for pairing.
- Next, locate the button on your remote that you will use to open and close the door. Press and hold the button. The LED indicator on the opener should begin blinking in roughly six seconds. Once the opener’s light is flashing, release the button on your remote. If successful, the garage door opener will emit a sound, and the remote’s light will stop blinking and stay lit. If the opener doesn’t cast a sound or the lights, don’t behave as described, start from step one and try again.
You’ve now successfully programmed your garage door opener remote! The next time you, or another household member with a paired remote pulls, press the button on the remote, and the garage door will open or close, just like magic.
If you need to program additional remotes or change the existing code, follow the same steps outlined above. And that’s all there is to it! So now you can enjoy the benefits and convenience of a garage door opener all year.
Need further assistance? View programming instructions for popular models, or give us a call to speak with a professional garage door technician. 574.444.9700